Self Rising Flour Pie Crust Recipe Easy
Making pie dough is so misunderstood which is why so many people have trouble! A homemade crust really is easy and you only need 3 simple ingredients. Let me show you how to get a flakey pie crust by teaching you what the most common mistakes in making pie dough are.
Jump to:
- Why Choose This Recipe
- Ingredient Notes and Substitutions
- Things I Actually Use For This Recipe
- How to Make Step by Step Recipe Instructions
- Recipe FAQs and Expert Tips
- Must Have Pie Recipes to Use This Crust
- Best 3 Ingredient Pie Crust Recipe
Why Choose This Recipe
- This is a classic pie crust dough recipe without the gimmick tricks that don't work!
- No special equipment needed! You just need a large bowl, mixing spoon, a fork, wax paper and rolling pin! And of course a pie plate.
- I will tell you what you need to know to be successful making your own pie crust!
- A homemade flaky crust is what makes the perfect pie!
- Amounts for both single crust and a double crust pie listed.
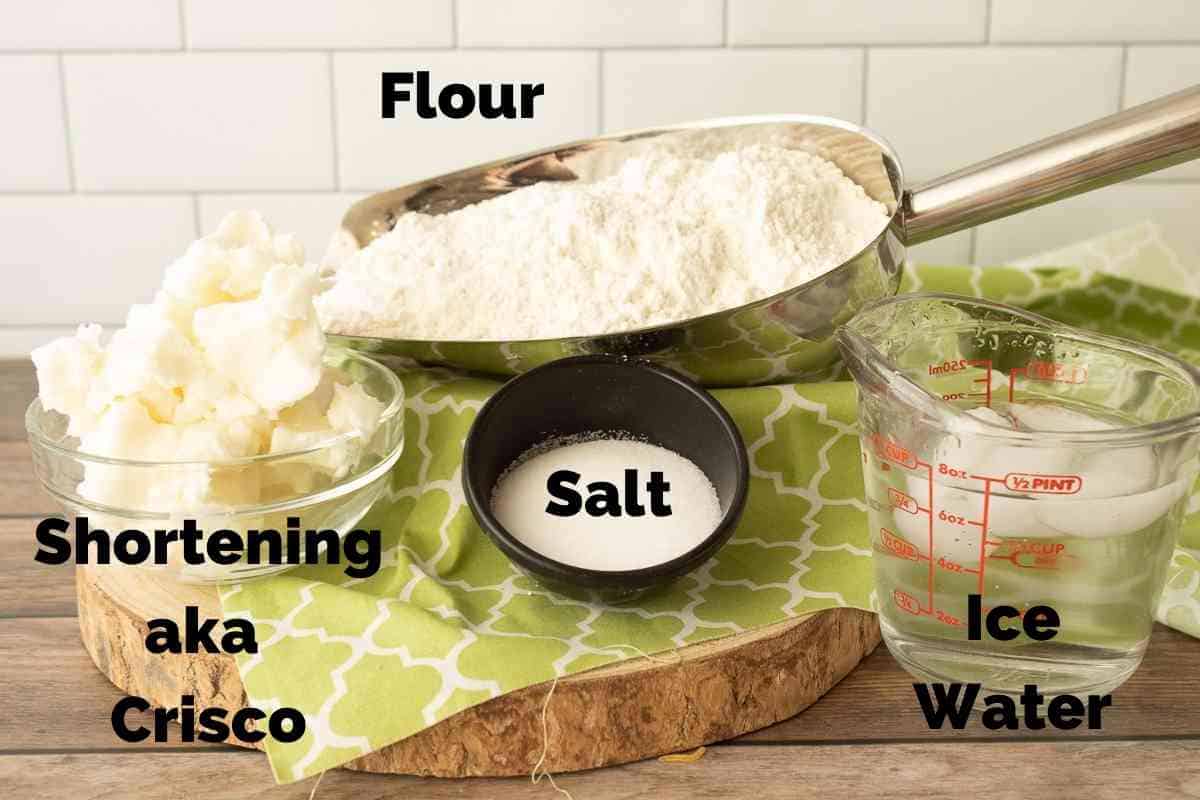
Ingredient Notes and Substitutions
- Flour - Use all purpose flour, not pastry flour, not bread flour, and absolutely not self rising flour.
- Shortening - Vegetable shortening is a must for a flaky pie crust. Why?
- Shortening has a high melting point. This is important to know because flakes in a crust are created by the crust baking around the pockets of shortening making it necessary to use a fat with a high melting point. If the fat absorbs into the flour too soon you don't get flakiness.
- Butter and oils will absorb into the flour when baking too soon causing a chewy and sometimes oily crust. Even coconut oils and such have a low melting point and are not good substitutes for actual vegetable shortening. You could however substitute lard with no problems.
- Shortening and lard both create a barrier between the crust and custard pie filling like Pumpkin Pie. That barrier is equally important when baking fruit pies like my Caramel Apple Pie. It allows the crust to bake without getting soggy.
- ICE Water - Ice water keeps the shortening more solid preventing it from fully incorporating throughout the dough to make that flaky crust we want.
- That's it? - Yup, aside from some salt this is all you need. Some people like to add a ¼ teaspoon cinnamon which is fine. I don't because the purpose of a simple crust is to showcase the flavorful filling you put in it. While a bad crust can ruin a pie, a good one shouldn't steal the spotlight. It's the supporting actor if you will.
Things I Actually Use For This Recipe

Glass Pie Dishes
Buy Now →
Marble Rolling Pin
Buy Now →
pastry cutter
Buy Now →How to Make Step by Step Recipe Instructions
- IMPORTANT - Before we start I want to give you the biggest tip for making a perfect pie crust especially if it's your first time. Practice makes perfect. Don't be discouraged if your crust isn't the most beautiful thing you've ever seen after your first try. The more you make pie crusts the better at it you get.
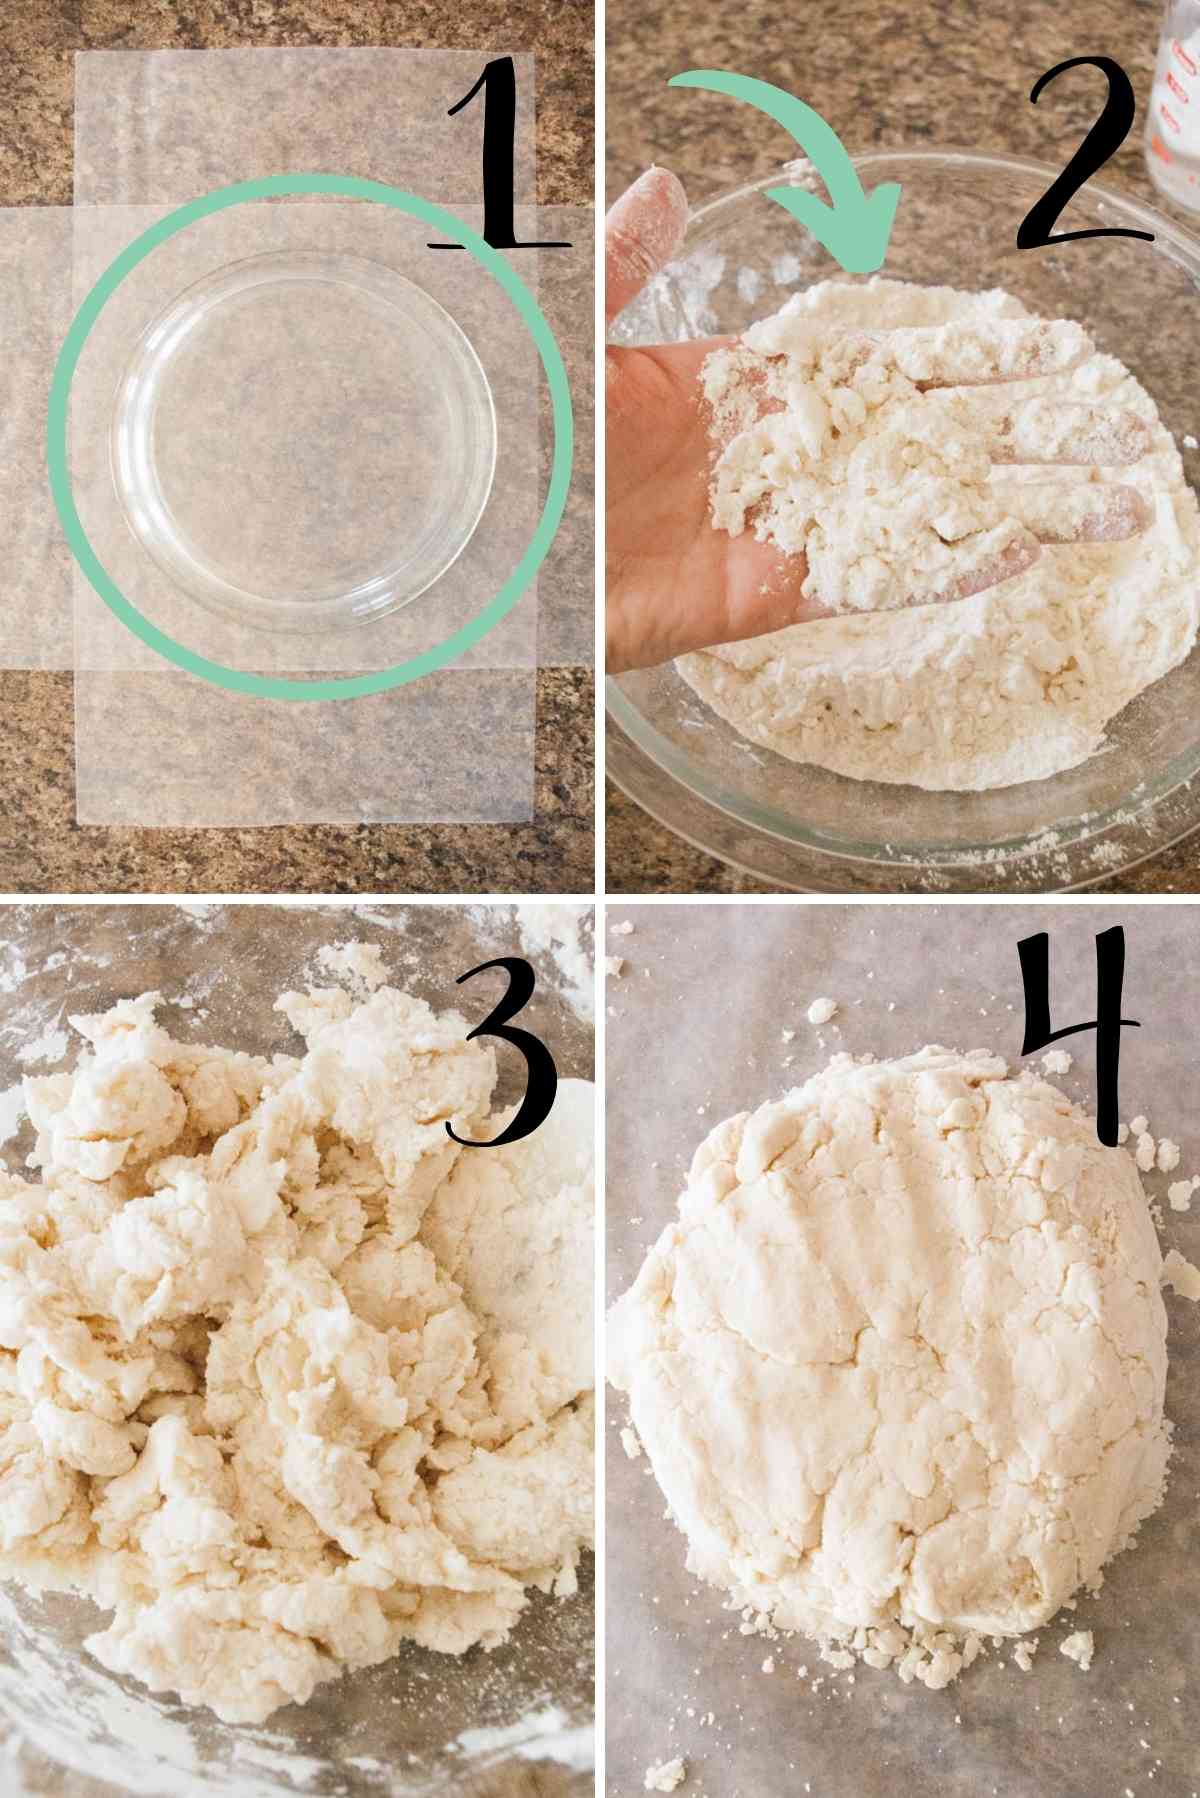
- Before I make my pie dough I place wax paper on my countertop like shown in picture 1 and tape down all the corners.
- Place a 9-inch pie plate upside down on the wax paper to be sure you've got enough.
- See the teal circle in picture 1 around the pie plate? That 2-3 inch circle that's larger than the outside rim of the pie plate is the size I will need to roll my dough out to. This 2-3 inches of dough is what will cover the sides of the pie plate.
- Why not use a silicone pastry mat with the measurement rings on them? You can absolutely do that! I am showing how I make do with wax paper because I find most people don't own a pastry mat. Also, if you scroll down to pictures 6 and 7 you'll see I lift the entire piece of dough into the pie plate using the wax paper which I think is easier than a mat.
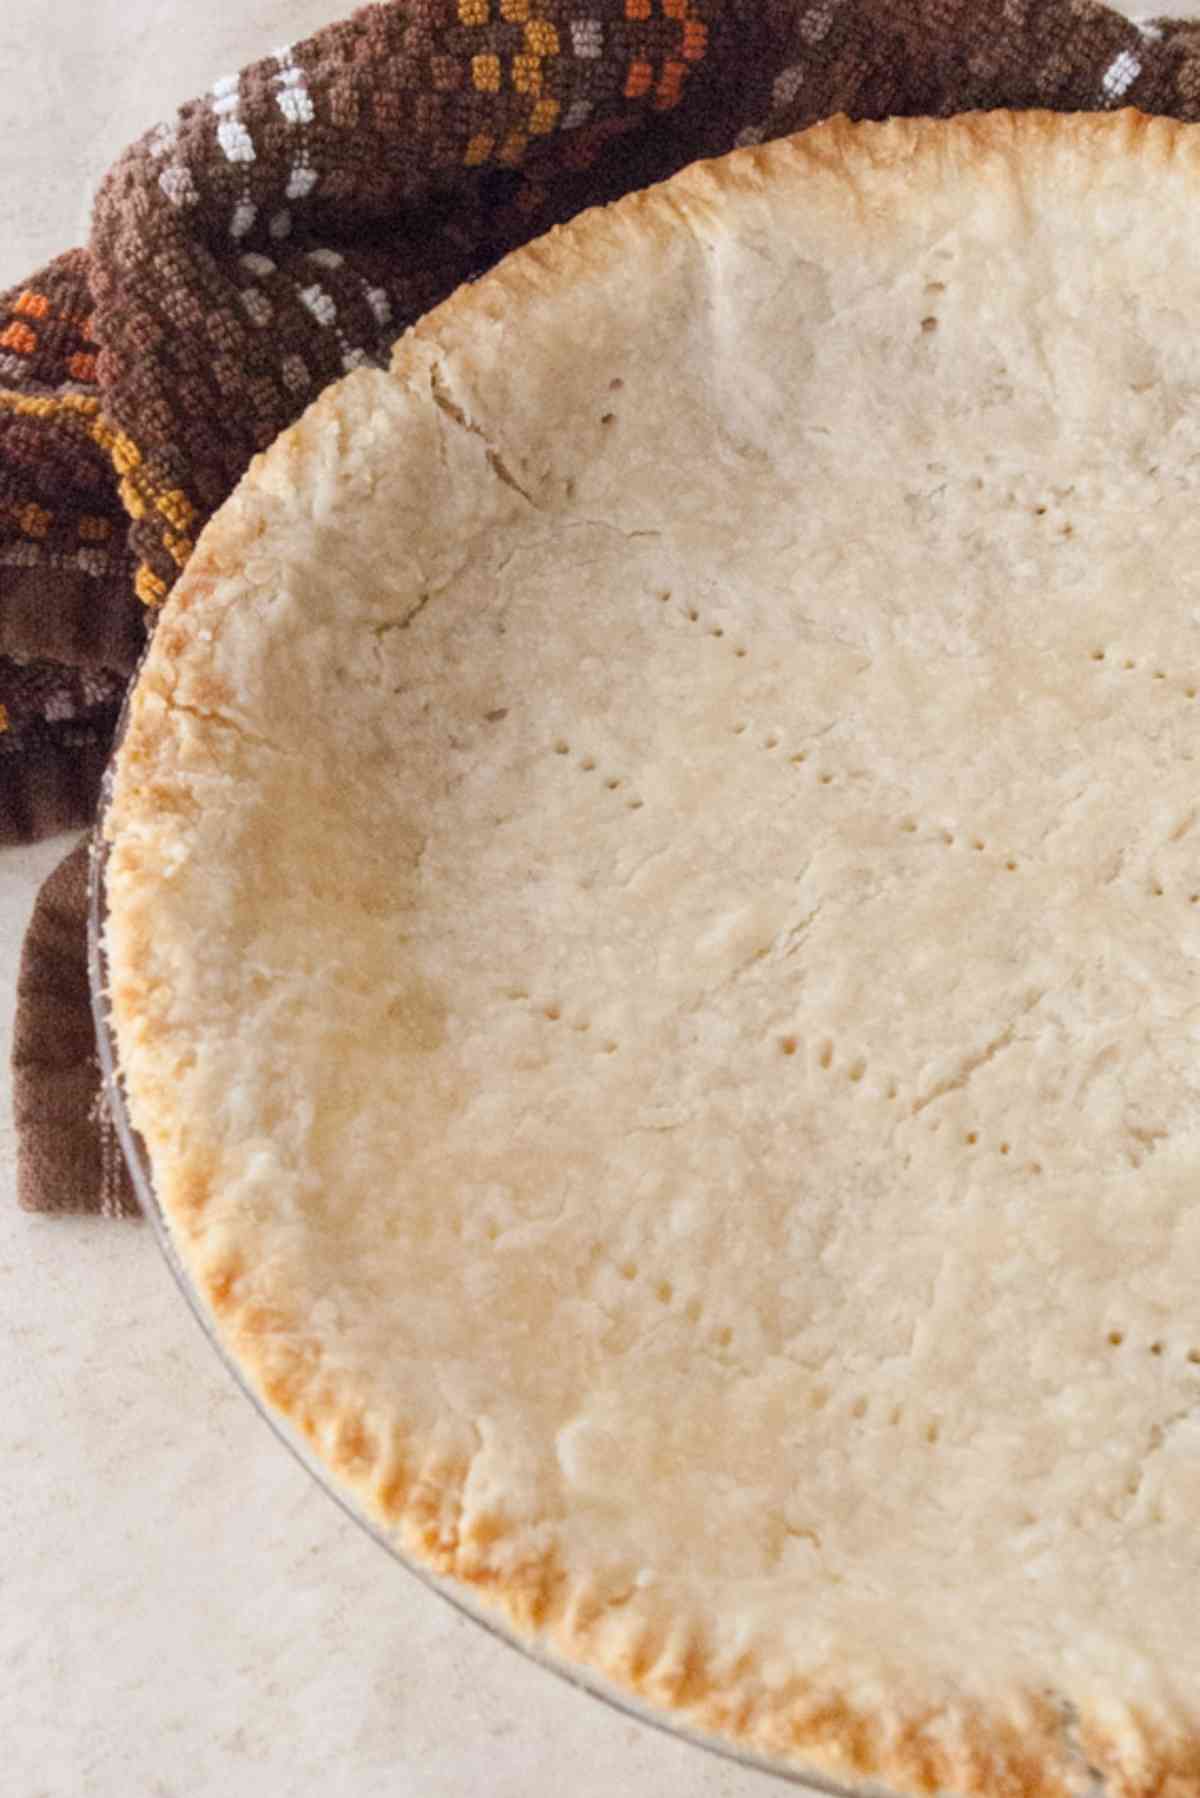
- Now we'll make the pie dough. Pie dough is flour, salt, shortening, and cold water.
- IMPORTANT - When making pie dough you want to use ice water. I fill up a measuring cup with ice and water and measure the tablespoons of water out from there.
- In a large bowl whisk the salt into the flour with a fork or a pastry blender if you have one.
- Cut the shortening into the the flour using two forks or a pastry blender. If you've never done this before check out this short video on how to use forks or a pastry blender. I think it's easier to see it done. than read an explanation. Please do not use a food processor for this step.
- Picture 2 is what my mixture looks like after cutting in the shortening. Notice I still have good sized chunks of shortening. That's exactly what you want to have to create those flaky layers. You do not want the shortening fully incorporated.
- Next you're going add the ice water a tablespoon at a time. A single crust will need 6-8 Tbs. of water, a double needs 10-12 Tbs.
- We add the water a tablespoon at a time because adding too much water will make the pie dough too wet causing it too shrink into the pan if you are just pre-baking a pie shell or give you a tough crust that may not cook all the way for a baked filled one.
- Too much water is a common mistake people make when making pie dough! For some reason we've been conditioned to think a pie dough is a soft, elastic dough. It's not! Pie dough is a dryer dough.
- You want to add enough water to bring the dough together, but still have it be a little crumbly and still have some loose flour on the bottom.The dough should not be sticky at all.
- You can see in pictures 3 and 4 my pie dough has crumbs and has a ragged look to it.
- Dump the dough onto the center of the wax paper and press into a ball of dough.
- Place a sheet of wax paper on the top of the ball of dough.
- Use a rolling pin to roll the dough out to about an ⅛ inch thickness.
- You should have roughly a 12-inch circle.
- Carefully peel the wax paper off the top of the dough and place the pie plate upside down on the dough.
- Detach the tape holding the wax paper to your work surface.
- Slide your hand under the wax paper, gently holding the center of the dough circle in the pie pan and flip the the whole thing over.
- Carefully peel the wax paper off the dough.
- IMPORTANT - Do not press the dough into the pie pan. Do not stretch the dough into the pie pan either! This is another big reason crusts shrink into the pans. What gets stretched out will shrink back together.
- So as you as situating the crust in the dish, lift and lay it where it needs to go.
- If there are some cracks just gently pat them together.
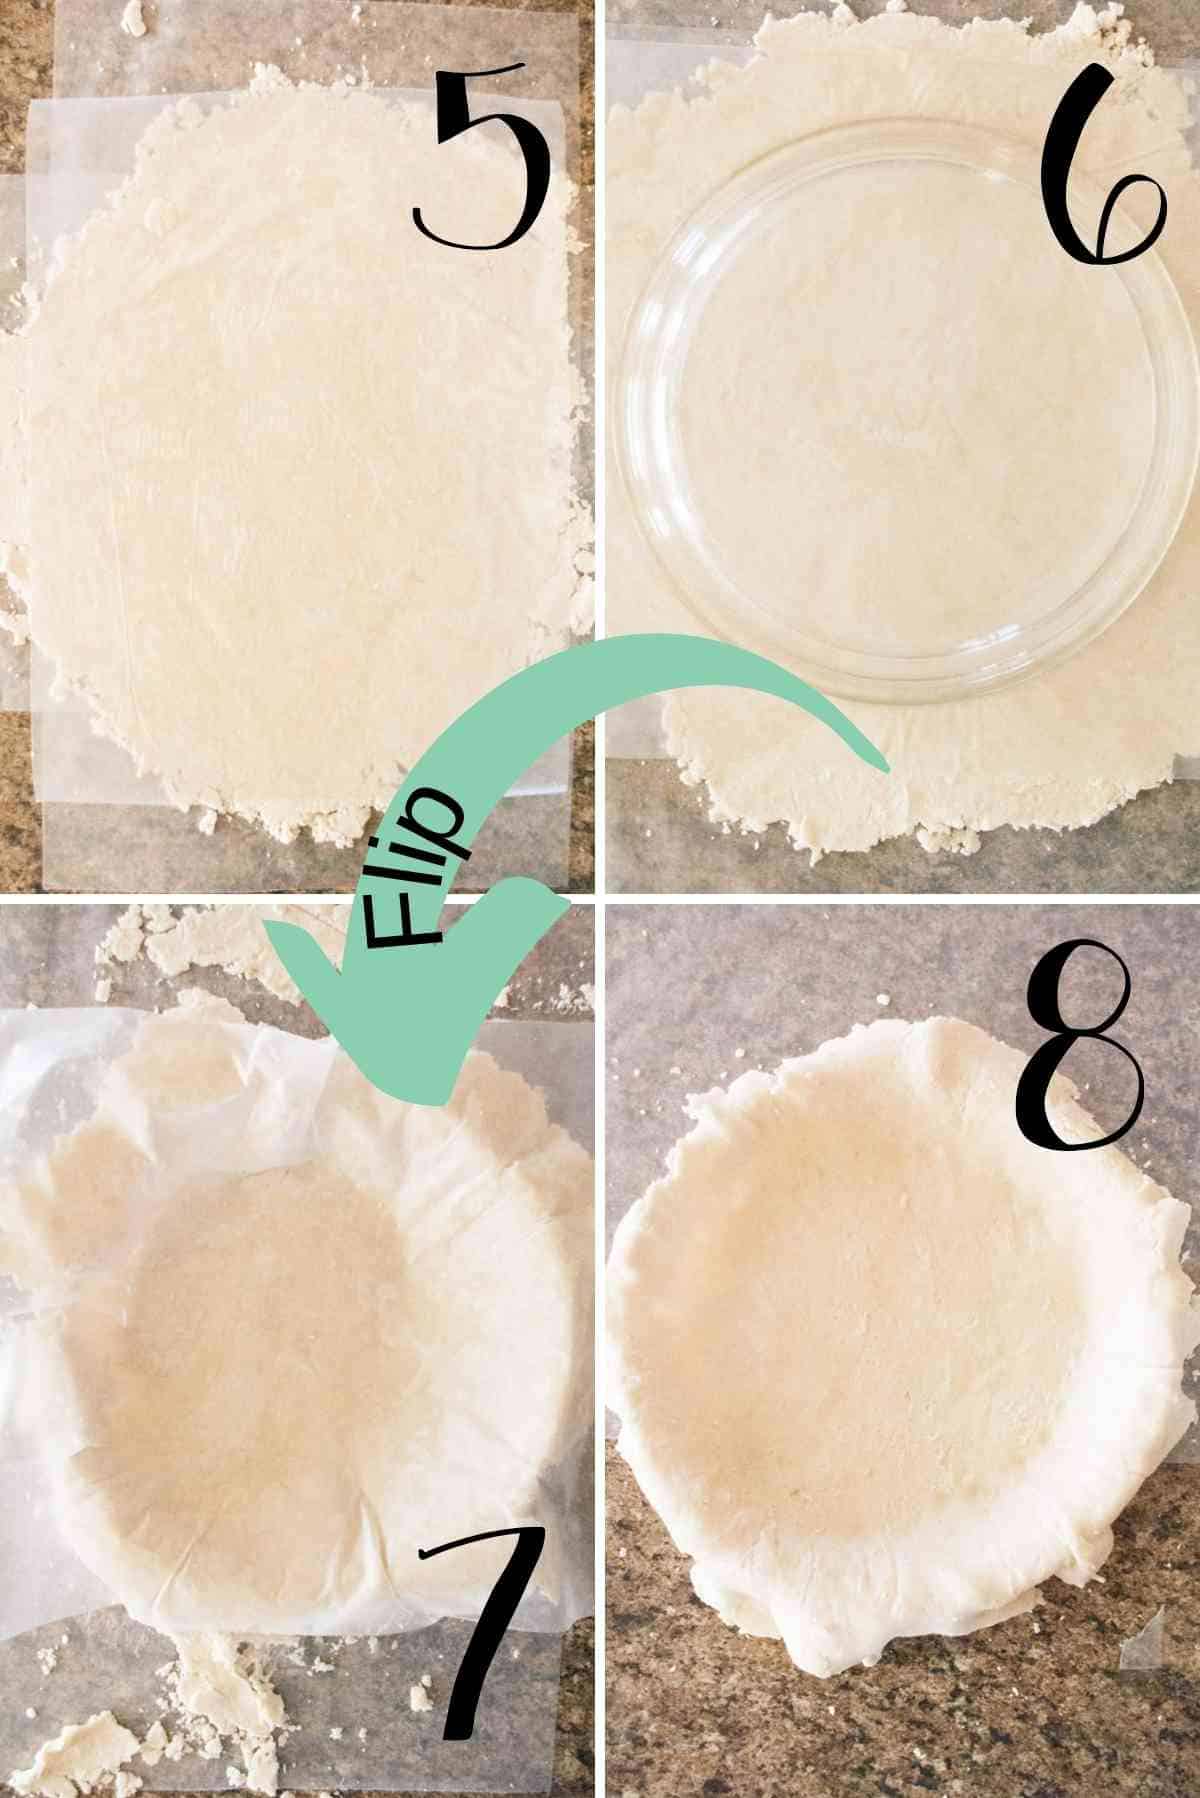
- Once the dough is nicely laid in the pie tin you can do one of two things.
- For a single pie shell, trim the excess dough from around the edges with either a sharp knife or use kitchen shears.
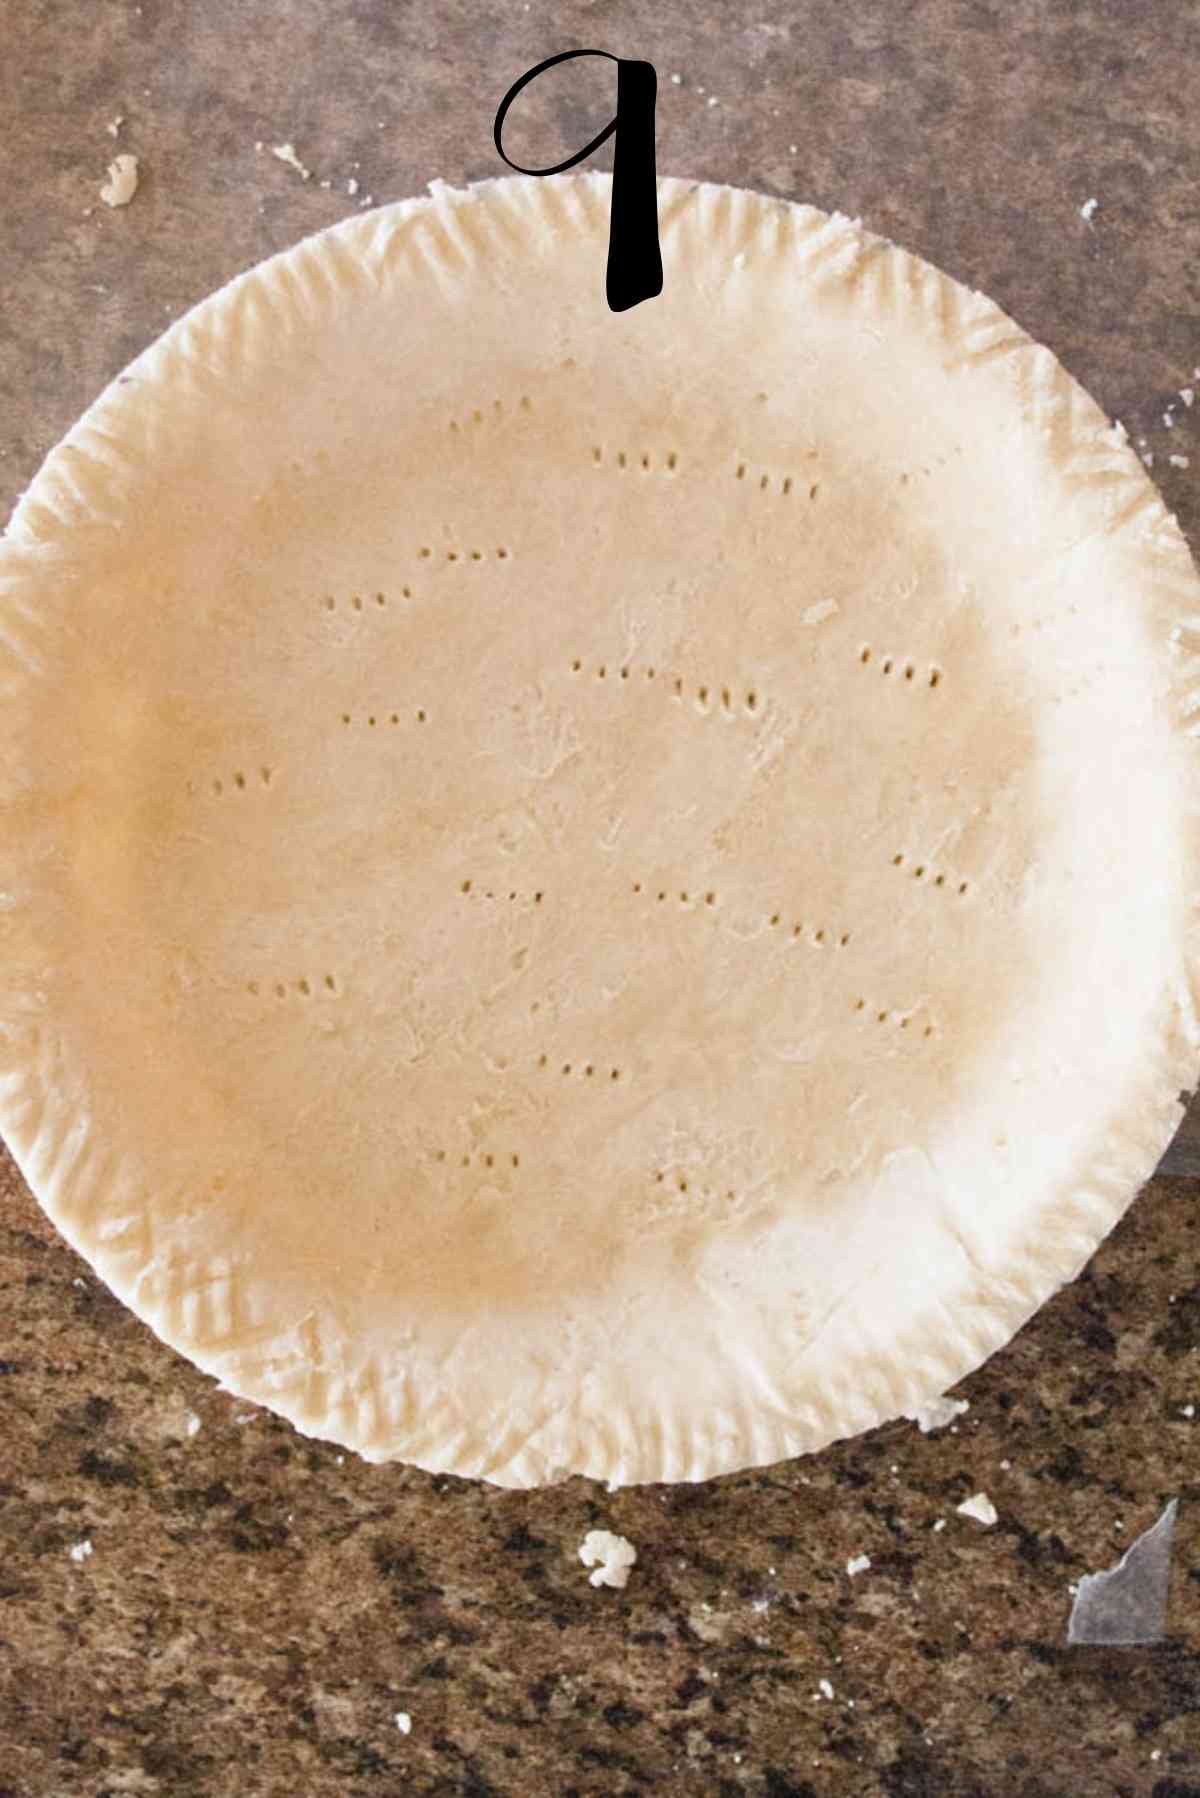
- Crimp edges or do them in any decorative way you would like.
- Here is a guide for 15 Different Pretty Ways to Finish the Pie Edges!
- Fill with sweet pie fillings and bake according to your recipes instructions or use a fork to gently pierce the bottom to allow steam to escape while baking so you don't get air bubbles for a pre-baked shell.
- If you wish to place pie weights in the bottom of the crust while it bakes that's fine too.
- Bake at 425 degrees for 10-15 minutes until golden brown . Cool before filling for cream pies.
- For a double crust, wait to trim the excess dough until you add the top crust.
- Fill the bottom crust with filling of your choice.
- Roll dough out for top crust the same way as before and carefully cover the pie with it
- Trim the excess dough around the edges and seal the top and bottom crusts together by crimping in a decorative way.
- Bake your pie according to your recipe instructions.
Recipe FAQs and Expert Tips
Can butter or vegetable oil be substituted for the shortening?
No, due to it's high melting point shortening causes flaky layers. Butter and oil absorb into the flour causing non-flaky crusts. Coconut oils also melt at too low of temperature to achieve flaky layers.
Why do pie crusts shrink?
Usually for two reasons. Too much moisture in the dough. Pie dough should be a dryer dough. Or the dough was stretched or pressed to fit into the pie dish instead of carefully lifted and laid in the dish.
Must Have Pie Recipes to Use This Crust
Have you tried this recipe? If so, leave me a rating and a comment below! And don't forget to subscribe to my newsletter to get my latest recipes sent right to your email! You can also follow me on Facebook, Pinterest, and Instagram!
Description
Making pie dough is so misunderstood which is why so many people have trouble! A homemade crust really is easy and you only need 3 simple ingredients. Let me show you how to get a flakey pie crust by teaching you what the most common mistakes in making pie dough are.
- SINGLE CRUST:
- 1 ½ cups Flour
- ¾ tsp Salt
- ½ cup Shortening
- 6-8 Tbs . Ice Water
- DOUBLE CRUST:
- 3 cups Flour
- 1 ½ tsp Salt
- 1 cup Shortening
- 10-12 Tbs . Ice Water
- If this is your first time making pie crusts please take the time to read through the more detailed instructions in the post above.
- Prepare the work surface where you plan to roll the pie dough out whether that's a silicone baking mat or wax paper as I used.
- In a large bowl, whisk together the flour and salt.
- Cut in the shortening with two forks or with a pastry blender until mixture resembles coarse crumbs.
- Add the ice water a tablespoon at a time.
- Only add enough water to bring the dough together and most of the flour is moistened and the dough is still a little crumbly. The dough should not be sticky.
- Dump the dough out onto wax paper and gather the dough into a roundish mound.
- Top with another piece of wax paper.
- Roll out into an ⅛ inch thick circle 2-3 inches bigger around than your pie plate.
- Remove the top layer of wax paper.
- Place the pie plate upside down on the pie dough and place one hand on top. Slide the other hand underneath the bottom piece of wax paper and carefully flip it over.
- Remove the wax paper and gently lift and lay the pie dough into the pie plate. Do not stretch the dough.
- Once the dough is nicely laid in the pie tin you can do one of two things.
- For a single pie shell, trim the excess dough from around the edges with either a sharp knife or use kitchen shears.
- Crimp edges or do them in any decorative way you would like.
- Here is a guide for 15 Different Pretty Ways to Finish the Pie Edges!
- Fill with sweet pie fillings and bake according to your recipes instructions or use a fork to gently pierce the bottom to allow steam to escape while baking so you don't get air bubbles for a pre-baked shell.
- If you wish to place pie weights in the bottom of the crust while it bakes that's fine too.
- Bake at 425 degrees for 10-15 minutes until golden brown . Cool before filling for cream pies.
- For a double crust, wait to trim the excess dough until you add the top crust.
- Fill the bottom crust with filling of your choice.
- Roll dough out for top crust the same way as before and carefully cover the pie with it
- Trim the excess dough around the edges and seal the top and bottom crusts together by crimping in a decorative way.
- Bake your pie according to your recipe instructions.
Notes
- IMPORTANT - Before we start I want to give you the biggest tip for making a perfect pie crust. Practice makes perfect. Don't be discouraged if your crust isn't the most beautiful thing you've ever seen after your first try. The more you make pie crusts the better at it you get.
- Can I substitute butter or oils for the shortening? No, due to it's high melting point shortening causes flaky layers. Butter and oil absorb into the flour causing non-flaky crusts. Coconut oils also melt at too low of temperature to achieve flaky layers.
- This recipe is for 9 inch pie plate.
Keywords: flaky pie crust, best pie crust, 3 ingredient pie crust, 4 ingredient pie crust
ANY NUTRITIONAL ANALYSIS ON THIS SITE IS BASED ON AN ESTIMATE, CALCULATED BY NURTIFOX PLUGIN (OR OTHER THIRD-PARTY SOURCE) FROM THE INDIVIDUAL INGREDIENTS IN EACH RECIPE. VARIATIONS MAY OCCUR FOR VARIOUS REASONS, INCLUDING PRODUCT AVAILABILITY AND FOOD PREPARATION. WE MAKE NO REPRESENTATION OR WARRANTY OF THE ACCURACY OF THIS INFORMATION.
More Pie Recipes
-
Streusel Crumb Topped Peach Pie
-
Easy Lemon Cream Pie
-
Easy Pumpkin Cream Pie
-
Bite Size Pumpkin Pies
Reader Interactions
piercethourojece38.blogspot.com
Source: https://mindeescookingobsession.com/homemade-pie-crust/
Postar um comentário for "Self Rising Flour Pie Crust Recipe Easy"